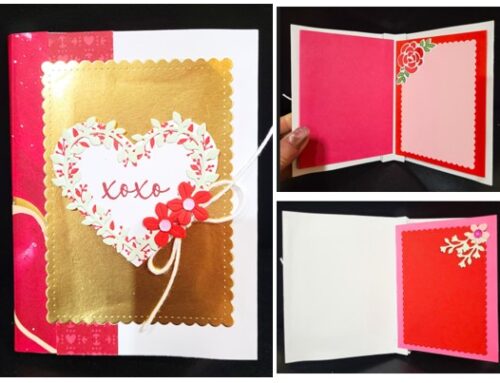
I am showing you another project that I created with the “Birds of a Feather” stamp set. This will be my 9th project of the 10 weeks of Christmas series.
Here are the measurements for the paper:
- Real Red (102482):
- 5 ½ x 8 ½
- Whisper White (100730):
- 5 ¼ x 4 (inside the card)
- 2 ½ x 2 ½ (bird
- 1 x 2 ½ (sentiment)
- Crumb Cake (120953):
- 4 x 5 ¼
- Silver Foil Sheets (132178):
- Scrap for the lights
- All colors:
- Scrap for the lights
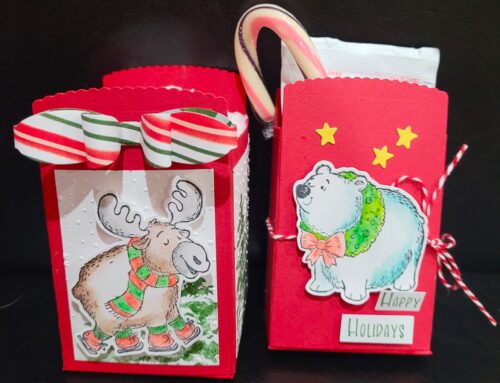
Here is how: I am using the pictures from my Halloween project.
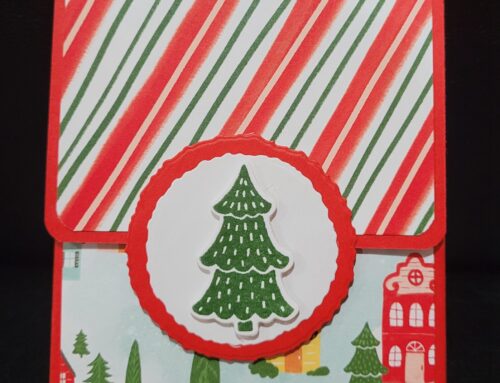
- Score the 5 ½ x 5 ½ CS at ½ (See the blue line in the picture below)
- Push the Classic Label Punch all the way to side that has the score line and punch a window as pictured below. Make sure you leave about 1” space from the edge.


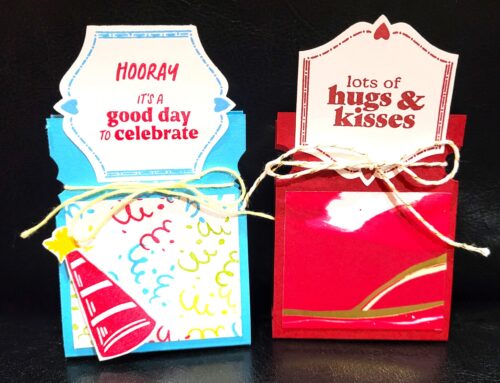
- Use CS warp around the candy bar to create the crease of the candy bar.
- Glue the DSP on the CS.


- Punch the DSP that just been covered. And then use the “punched label window” as a template to punch another label. This is the “Track” for the Bird.

- Hold the candy warp as there is a candy inside and use the hole punch to punch a hole.

- Use 22-24 inches of ribbon around the candy bar in the long way. The length of the ribbon depends on how well you can tie a bow.

- Ribbon through two holes as picture


- Use glue dots to glue a penny to the ribbon. I used 3 glue dots to make sure the penny stays.

- Pull the ribbon so the candy bar will be inside the warp and tie a bow. Make sure the Penny is at the left end of the open window.

- Glue the candy wrap

- Put pop dots on the penny and place another penny on top of it.


- Punch out the Scallop Circle with Real Red CS.
- Stamp the Bird on Whisper White CS and color it with Stampin Blends.
- Glue the colored Bird to the Real Red Scallop Circle.
- Use pop dots to attached Bird to the penny.
Ready to create? Here’s what you need:

Paper Pumpkin Grid Paper
#153985
$12.50

#150571
$21.00

Memento Ink
#132708
$8.00

Whisper White CS
#100730
$9.75

Real Red CS
#102482
$8.75

Let it snow DSP
#150393
$14.50

Classic Label Punch
$18.00

1/2 Circle Punch
$6.00

Light Real Red
$4.50

Daffodil Delight Combo
$9.00

Lt. Pumpkin Pie
$4.50

Poppy Parade Weave Ribbon
$7.50
Thanks for Looking!